
BLOG
Client Photos, Process work, Behind the scenes, Wedding TIPS and more!
Vintage Inspiration: How Nostalgia Shapes My Art
A look into how vintage nostalgia and antiques shape my watercolour artwork.

Vintage inspiration is more than just a fleeting trend for me; it's an everlasting passion that breathes life into my art. From the charm of a 1930s sewing advertisement to the elegance of Art Deco jewellery, the past has a way of weaving into my creative process. I’d love to share with you how vintage items shape my designs and bring a touch of yesterday into today.
Introduction to Vintage Influence
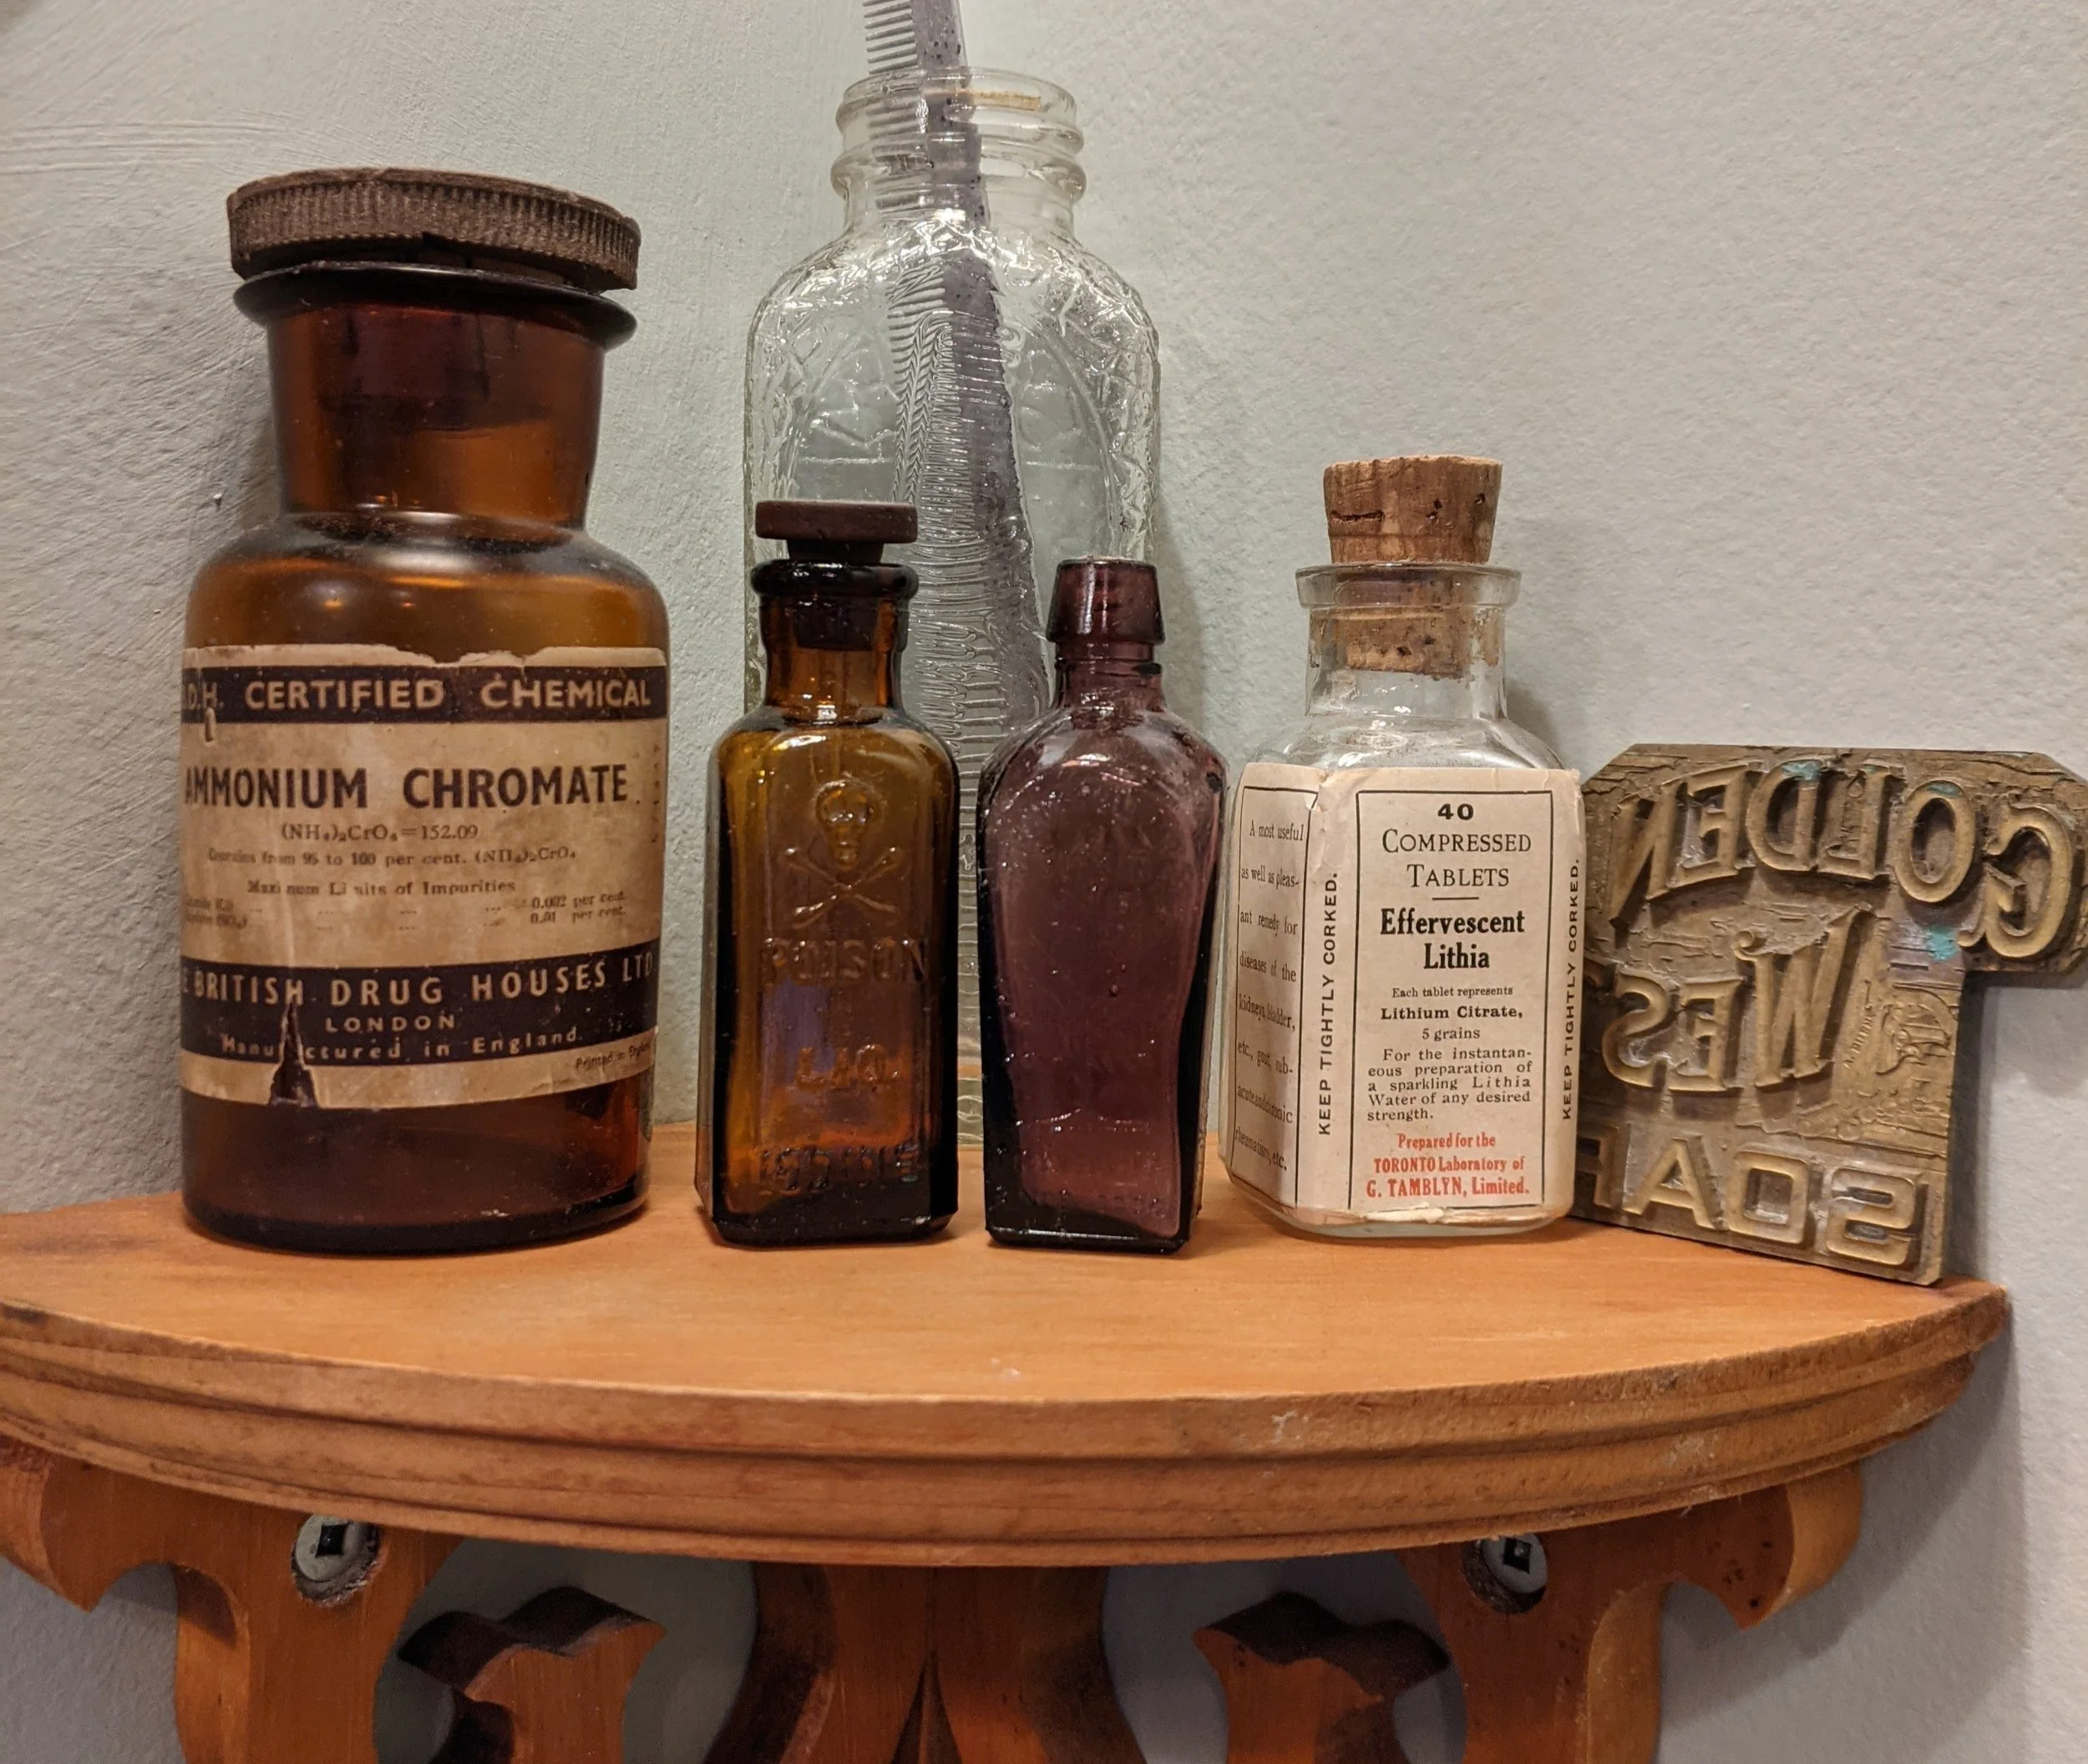
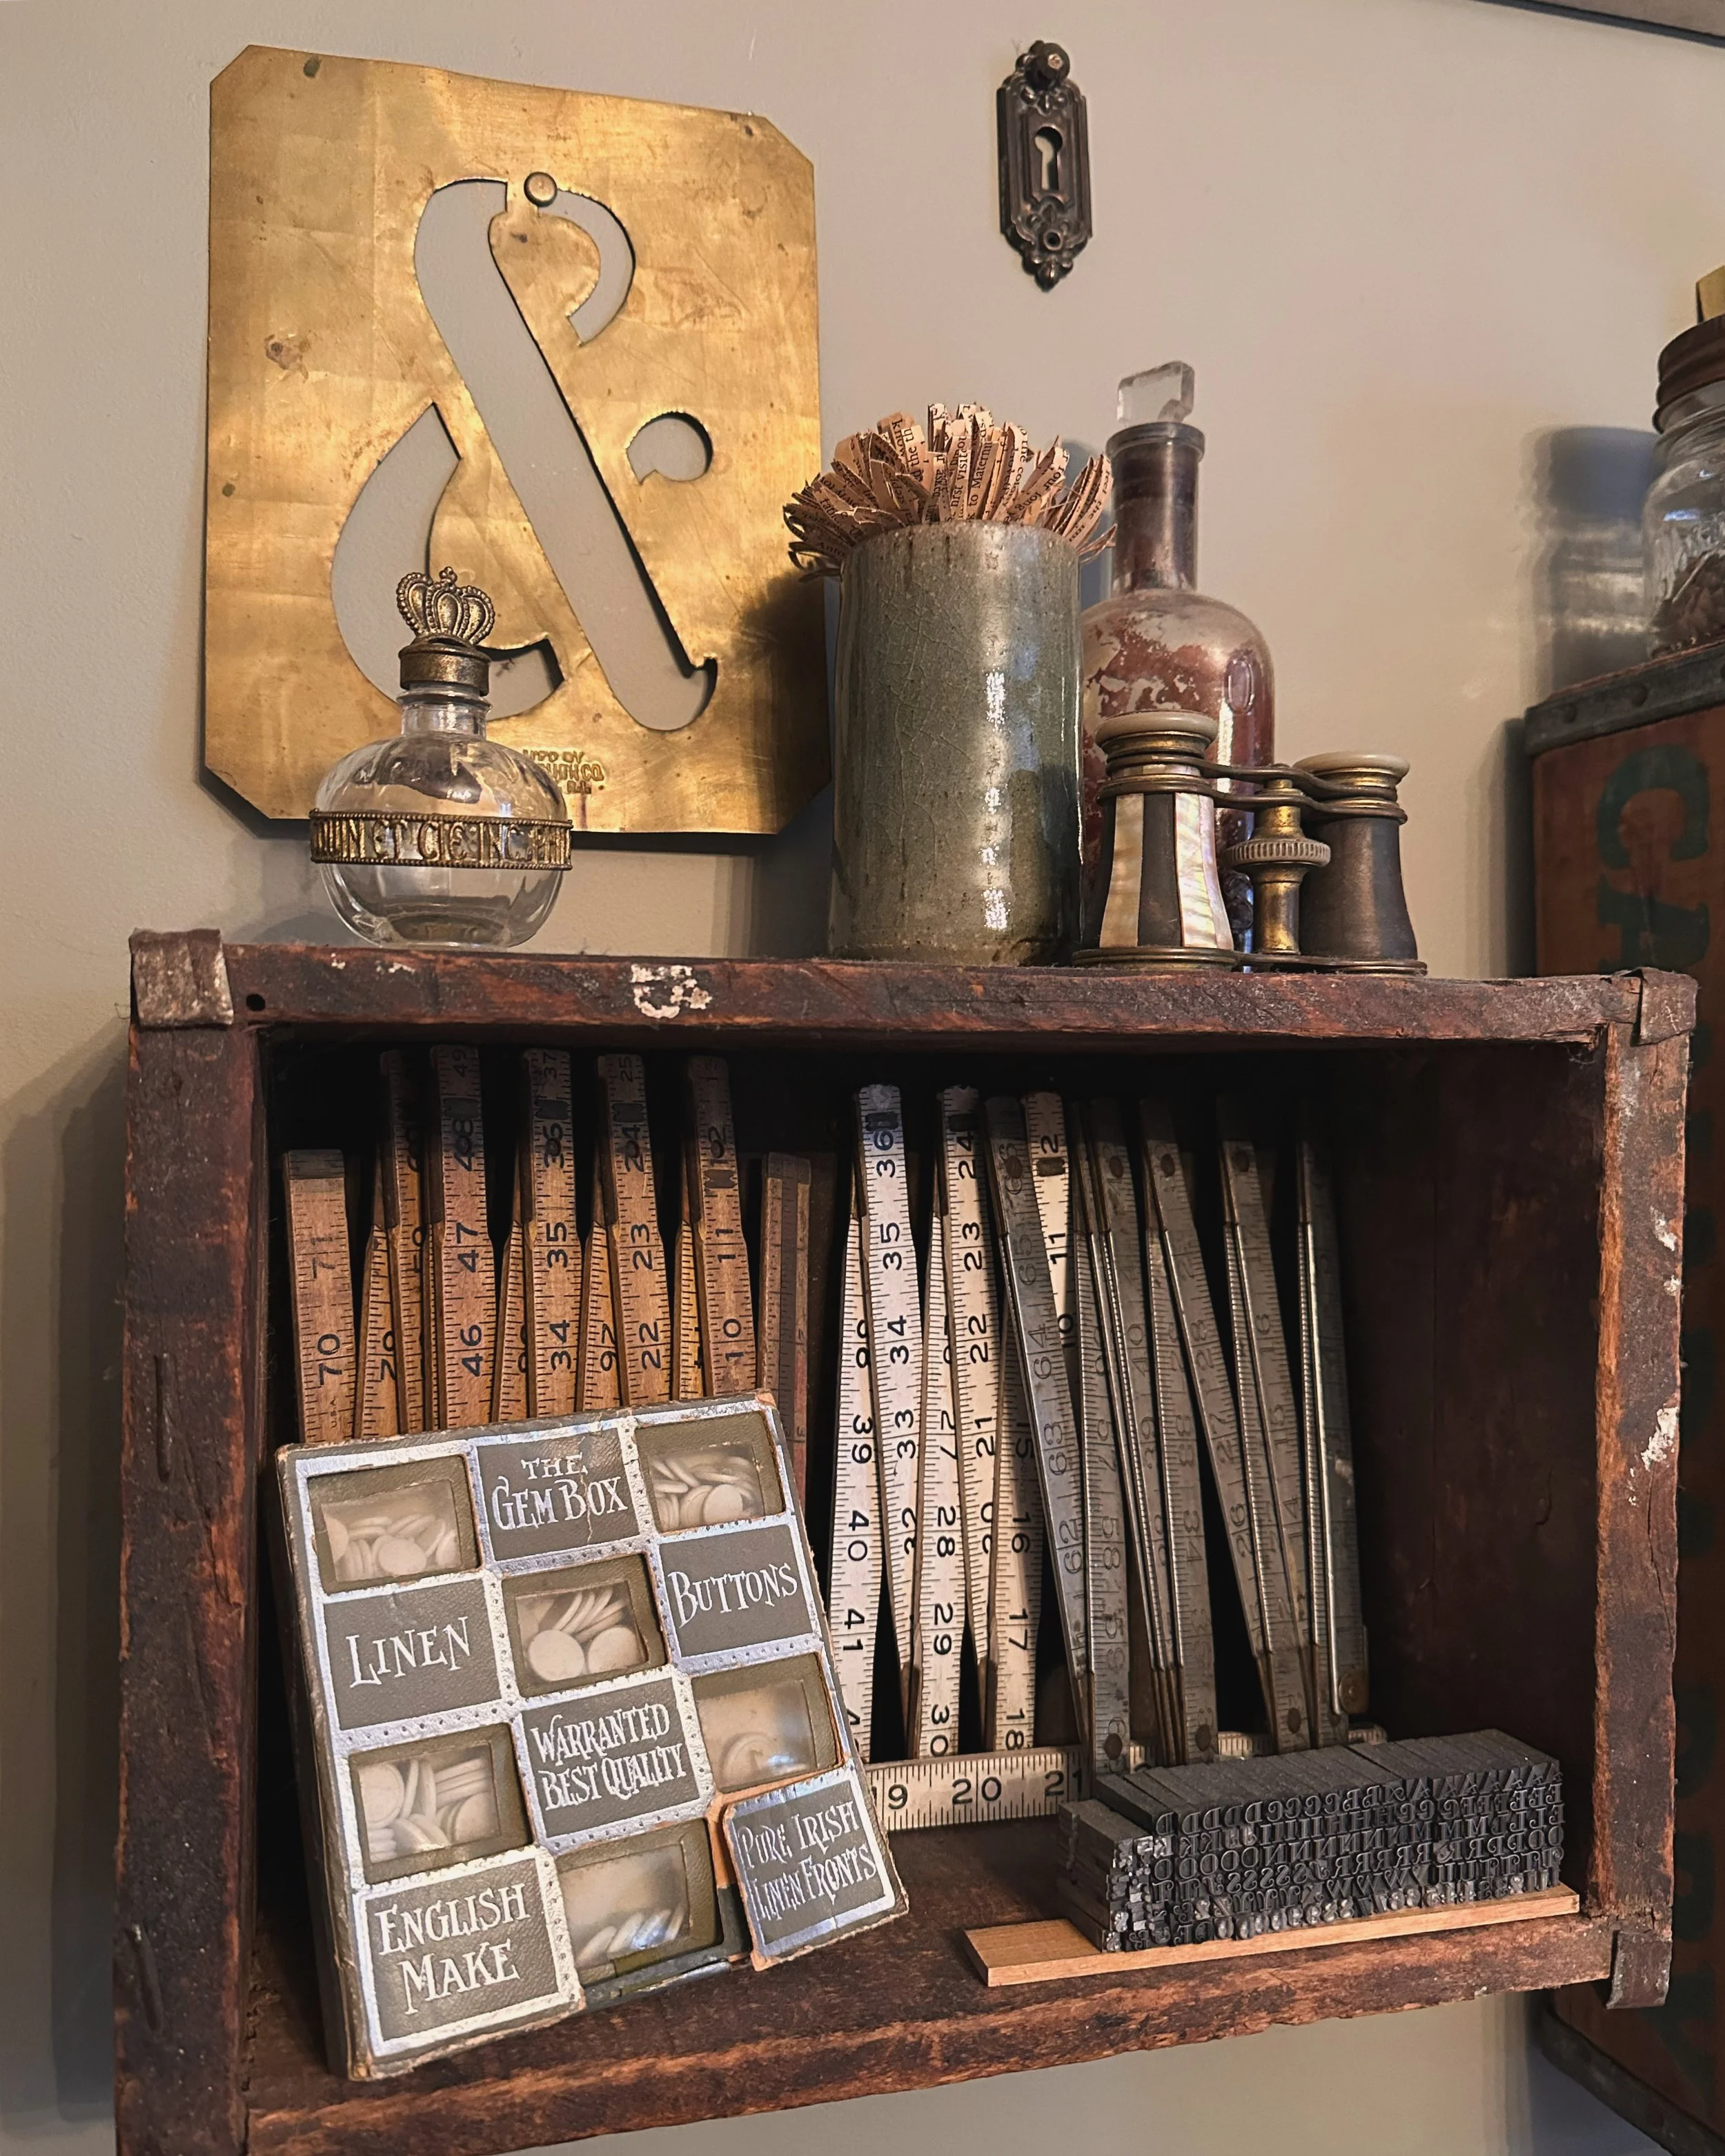
From a young age, I was captivated by the charm of vintage items. Both my parents and my Grandmother had antiques throughout their homes. I always loved inspecting them and appreciating the intricate designs, the history they carry, and the stories they tell. It’s something that has always fascinated me. The two bottles in the middle of the photo below were from my Gram’s collection. One is called “Nectar of the Golden Life of Health and Vitality” and the one beside it says “Poison” :) My passion for vintage styles and trends isn't just about aesthetics; it's about connecting with a bygone era and infusing my art with its essence. What draws me to these styles is the elegance and detail-oriented craftsmanship that often accompanies an everyday item like a wooden crate, a woodworker’s level, or glass medicine bottle (to name a mere few).
Vintage Objects I Love
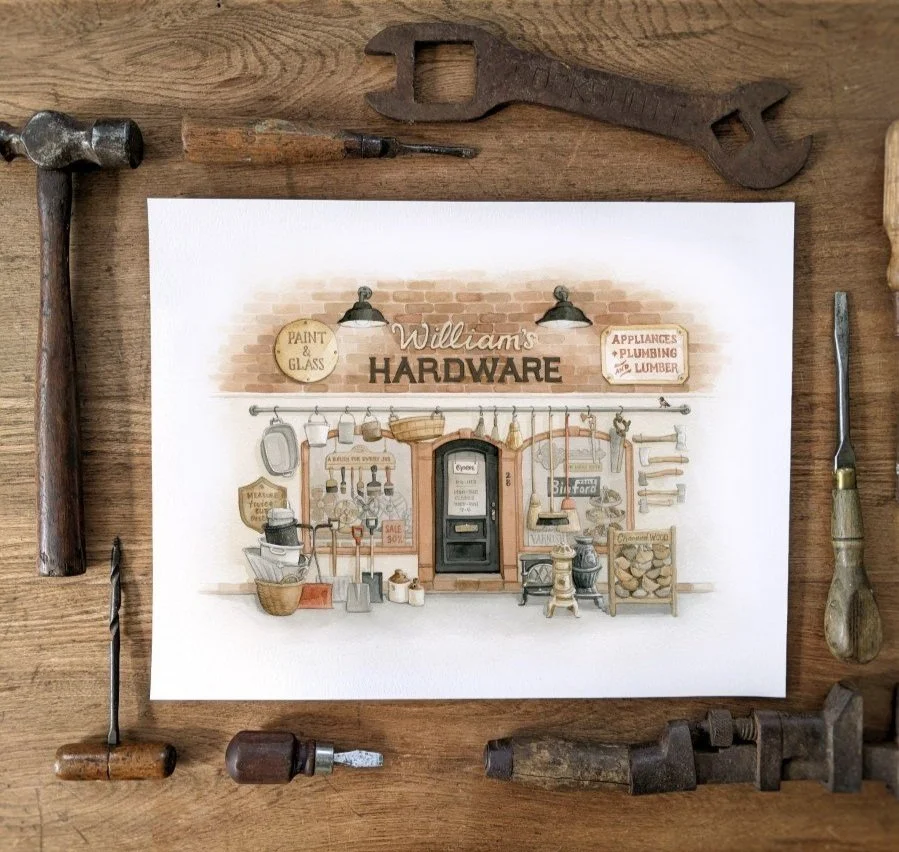
HISTORIC Tools
Hand tools from a century ago hold a special kind of magic. These tools, often crafted with meticulous attention to detail and built to last, tell stories of craftsmanship and hard work. The worn handles and patina of age reflect a bygone era when quality and durability were paramount. I find inspiration in these tools' rugged beauty, incorporating their shapes and textures into my art.
Timeless Wooden Boxes
There’s something inherently nostalgic about wooden boxes. Whether they were once used to store food, supplies, or tools, these boxes carry the charm of their original purpose. Their craftsmanship, often featuring dovetail joints and rich wood grains, speaks to a time when even the most functional items were made with care and artistry.

Ornate Frames and Antique Mirrors
Ornate frames and antique mirrors are treasures from the past that exude elegance and charm. These pieces often feature intricate carvings and elaborate designs, showcasing the artistry of their creators. I love repurposing these old parts to breathe new life into them, transforming them into functional and aesthetic pieces.
Art and Vintage Connection
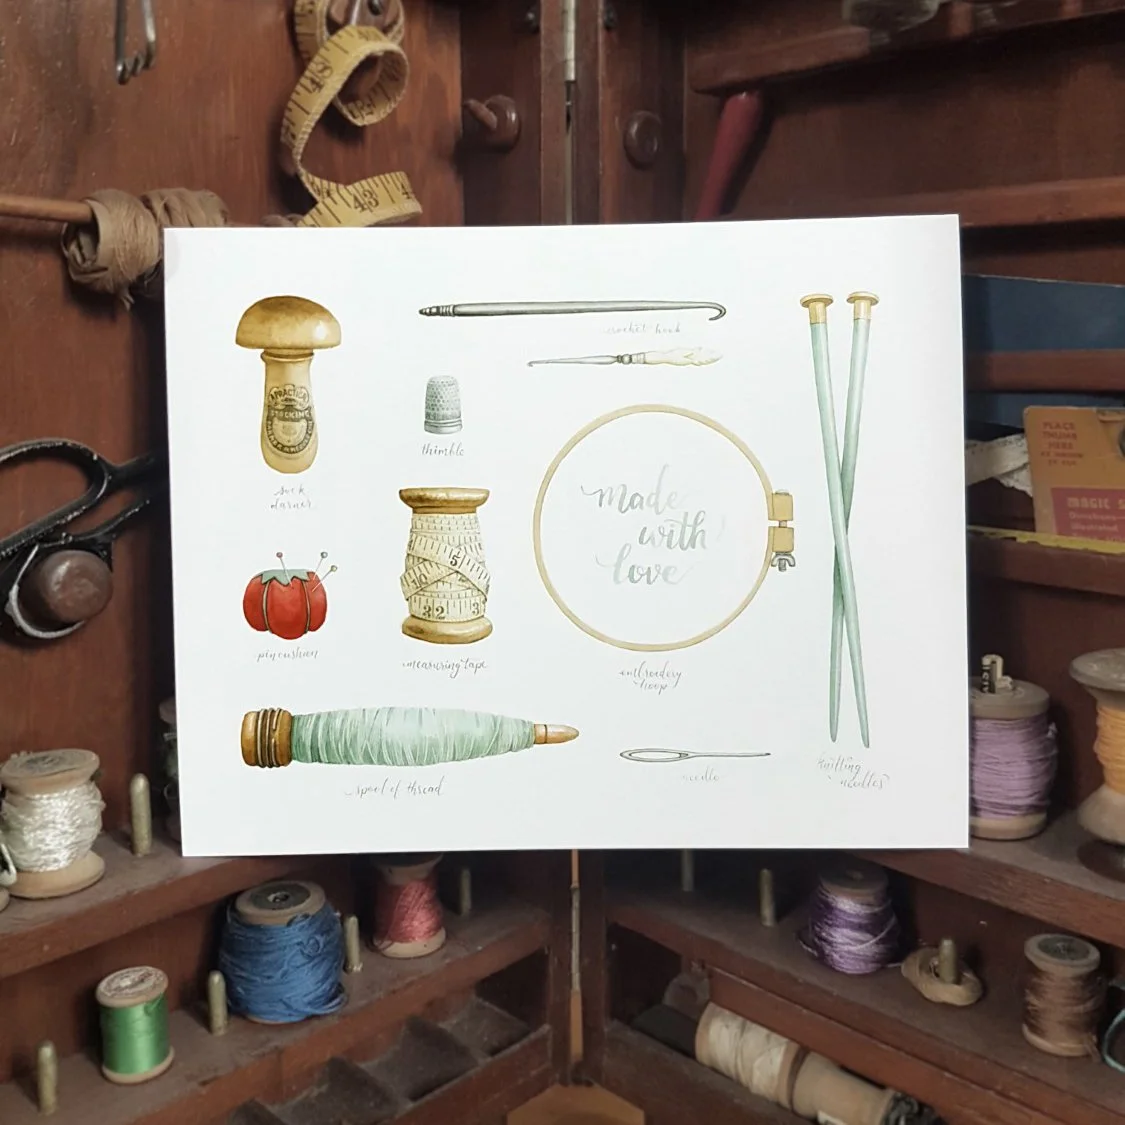
To truly understand how vintage items influence my artwork, let’s take a closer look at some specific pieces:
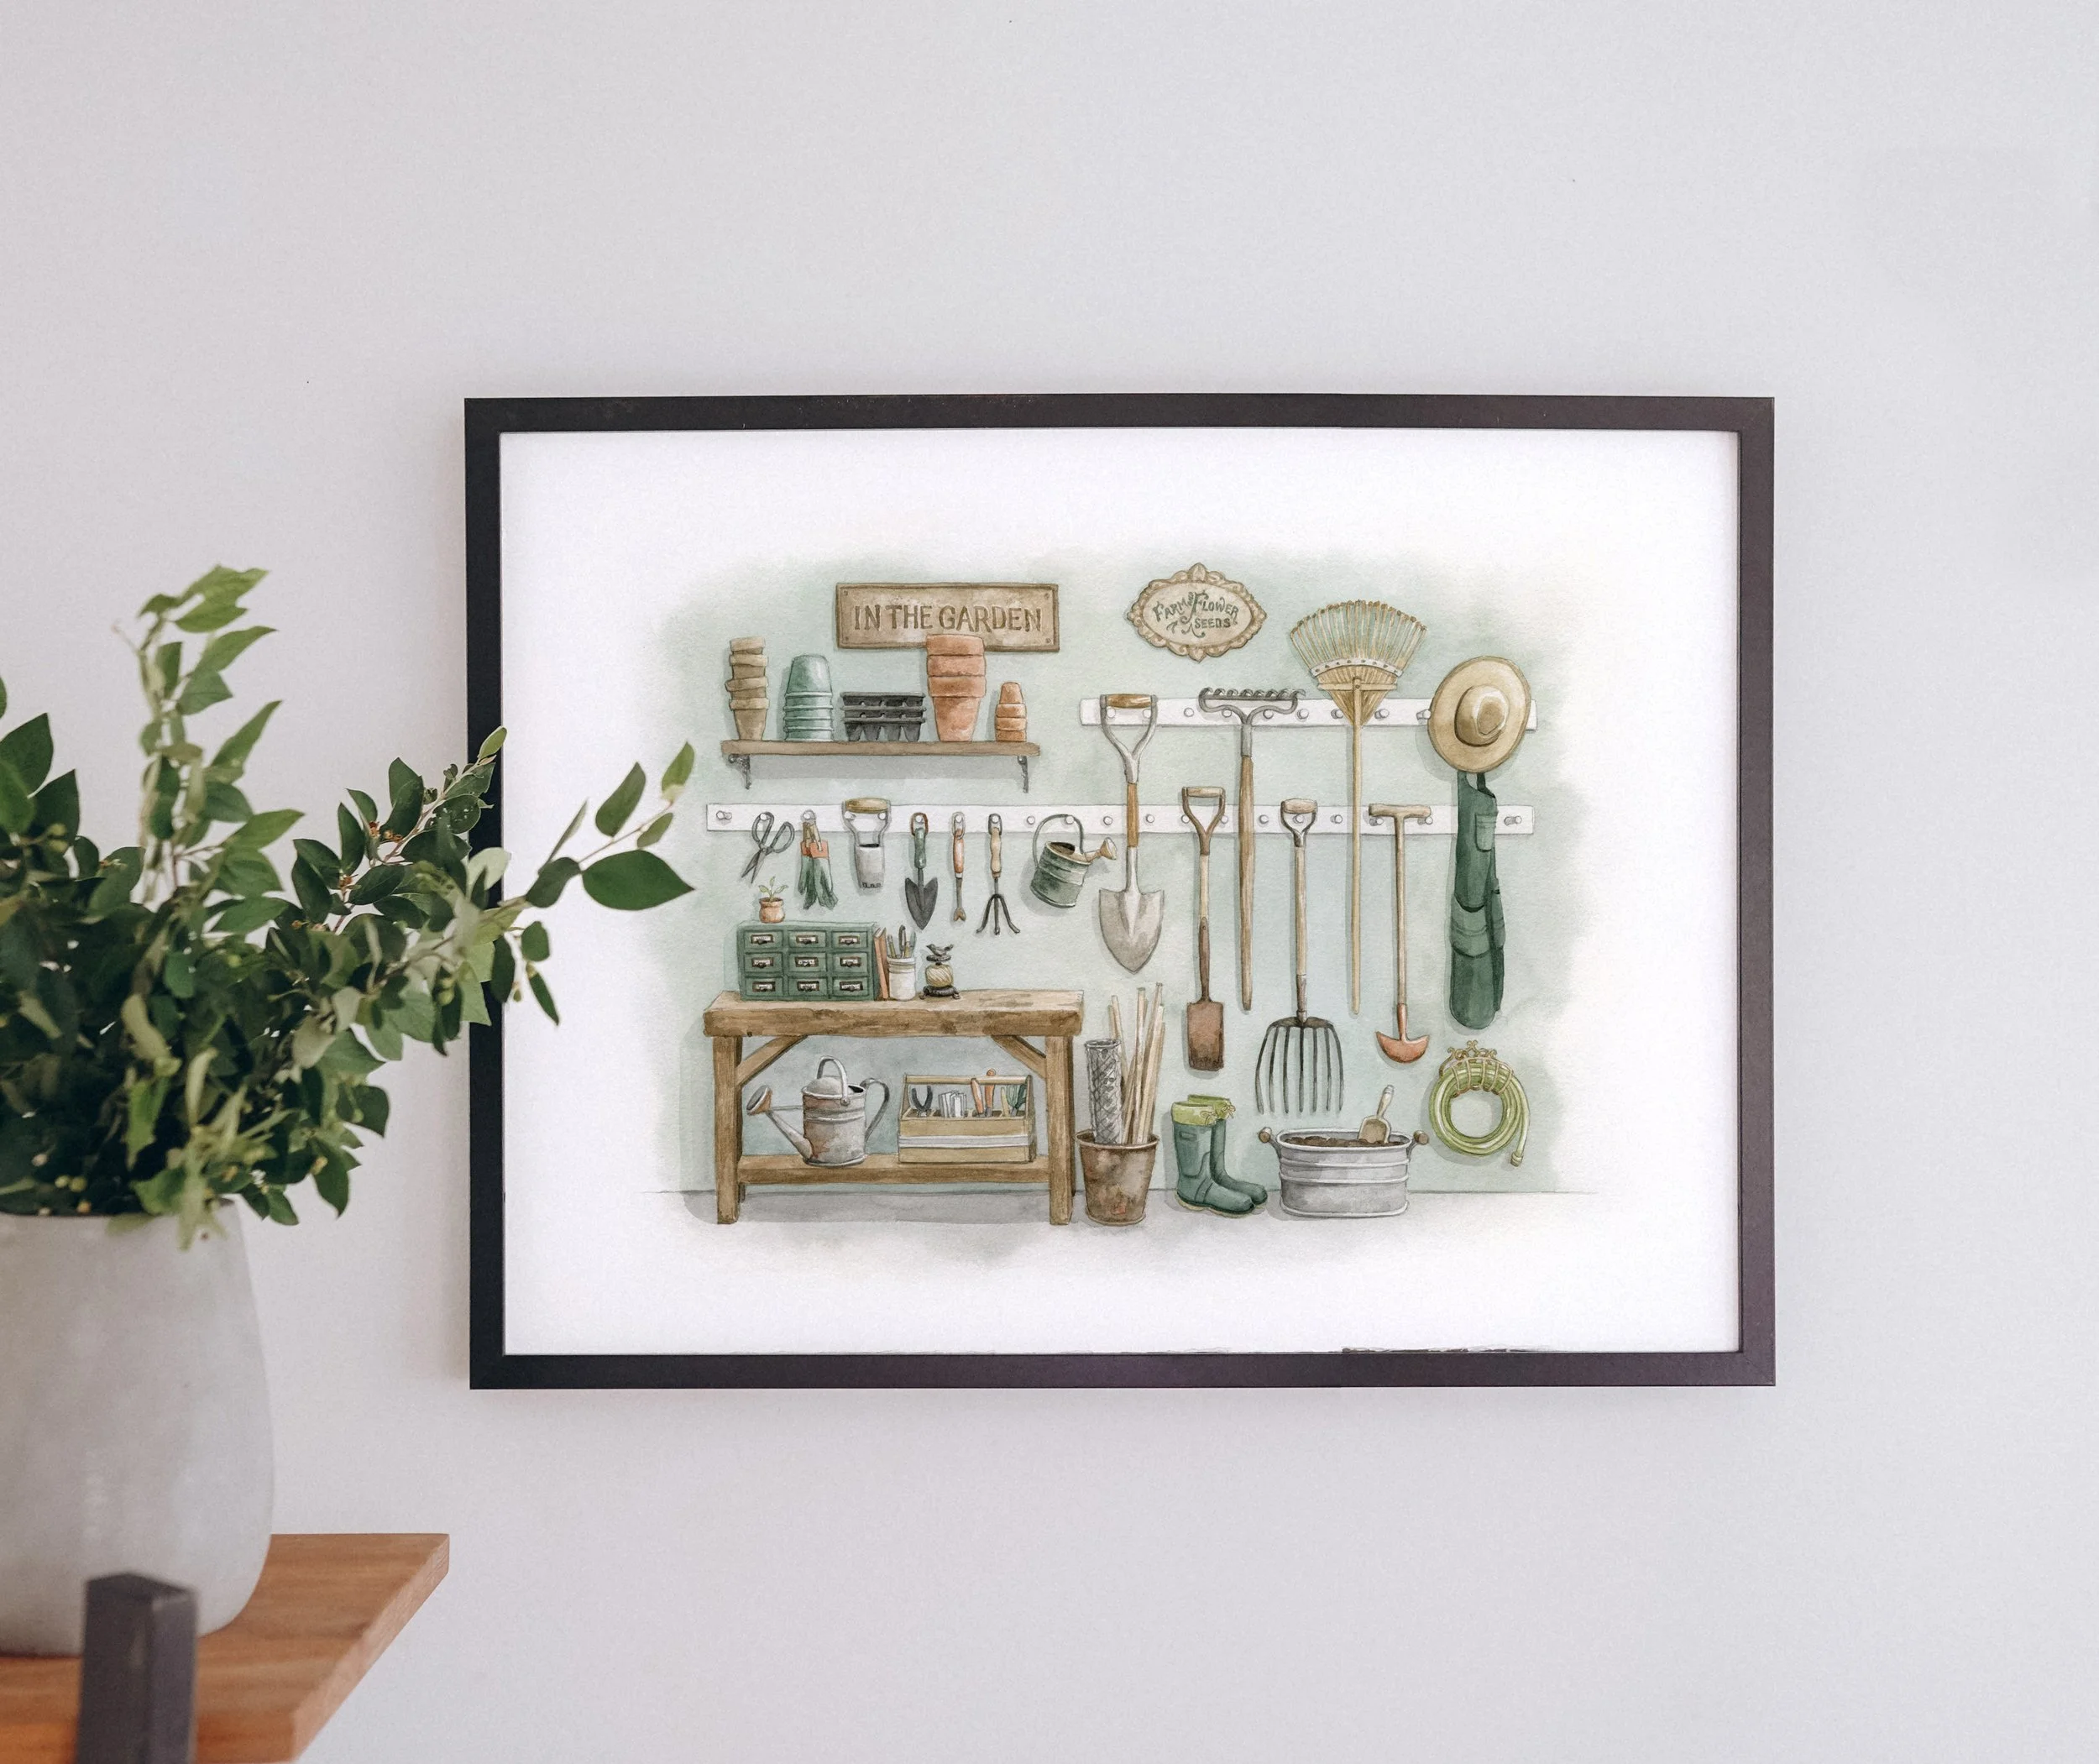
Vintage Potting Shed
A space where everything has its place, highlighting the gardener's care and attention to detail. Each tool was made to last, and have beautiful style lines and patina.
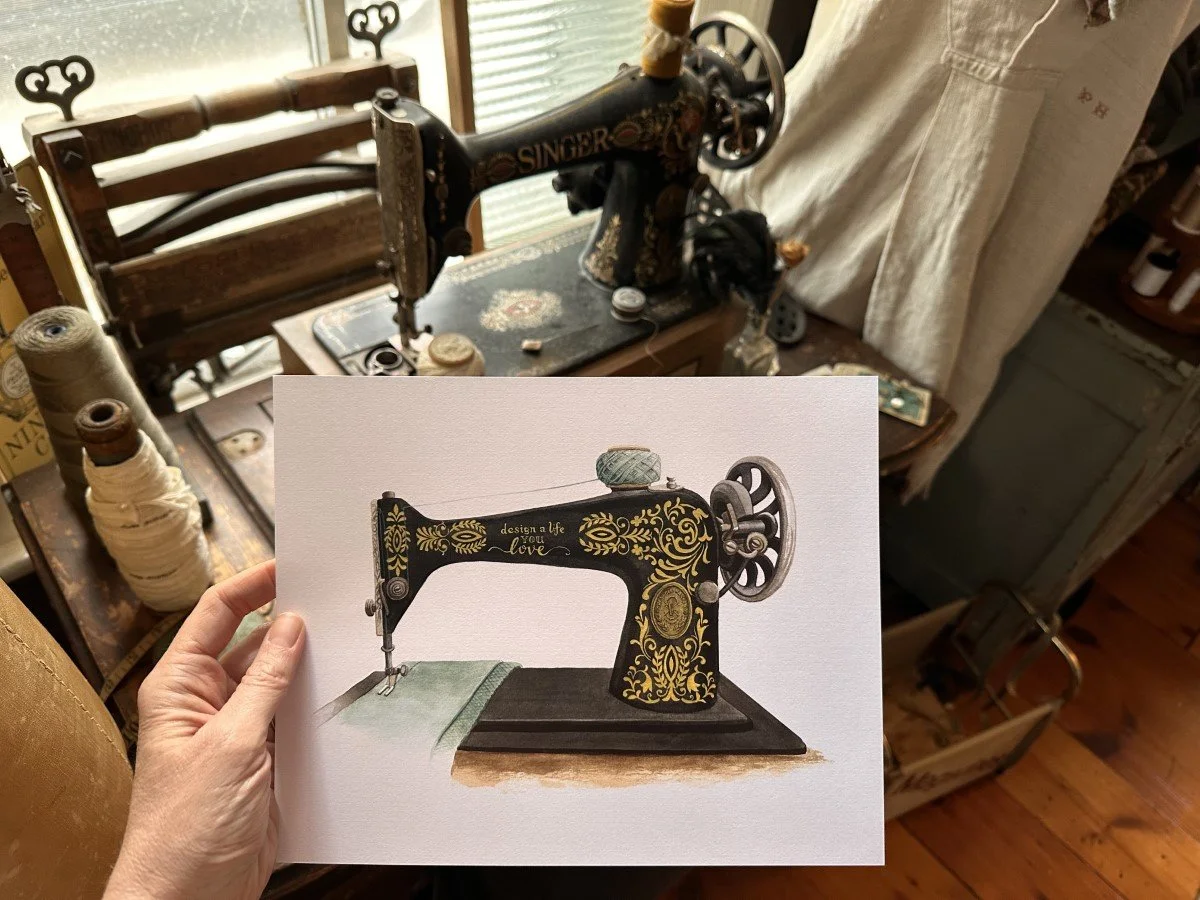
Vintage Singer Sewing Machine
Delicate lines and designs are pinstriped on a custom Singer sewing machine, perfect for a sewist's creative space.
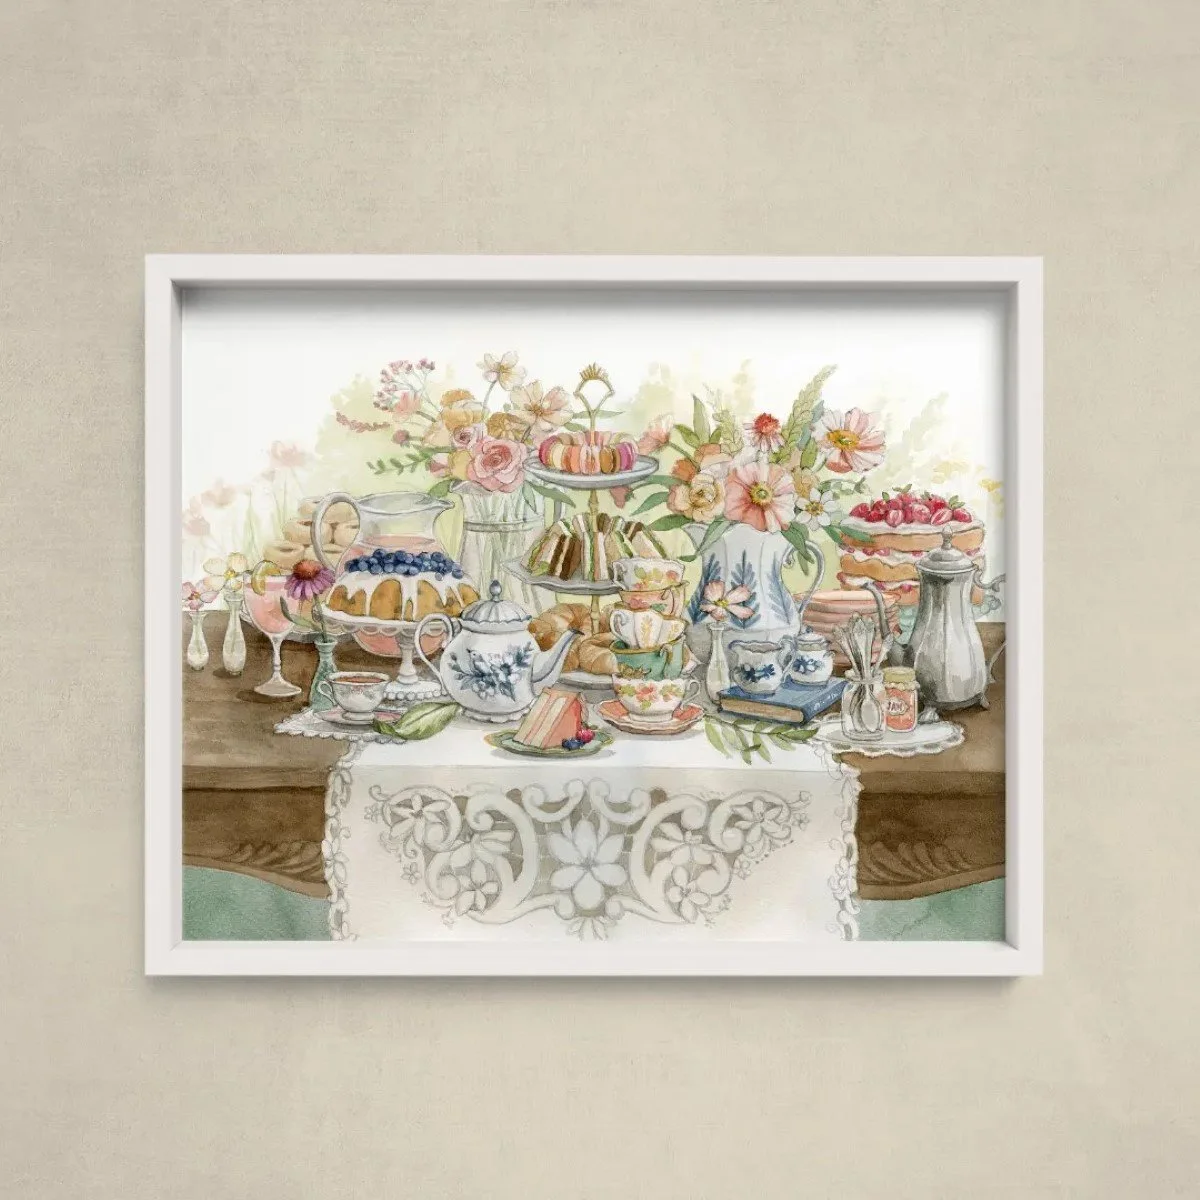
Charming Kitchenware
Vintage kitchen tools and teacups capture the nostalgic joy of baking and enjoying treats!

Behind-the-Scenes Process
Sourcing vintage items is an adventure in itself! I spend weekends scouring antique markets and garage sales, searching for pieces that speak to me. The thrill of finding a unique item, learning about its history, and imagining its past is a special part of my creative process.
Once I bring these items back to my studio, I'll study their colors, shapes, and textures, allowing these elements to guide the development of new pieces. Incorporating these items isn't always about replication but rather about interpreting and reimagining their essence in a contemporary context.


Nostalgia and vintage items are more than just sources of inspiration for my art—they are windows into the past. By incorporating these elements into my work, I strive to create pieces that resonate with viewers on a personal and emotional level. Whether it’s a memory of a loved one, a connection to a different era, or simply an appreciation for the beauty of the past, my art aims to evoke a sense of timelessness and joy.
Thank you for joining me on this journey through the vintage influences that shape my art. If you want to see more of my work or learn about my creative process, stay tuned or browse my website!
From Sketch to Print: The Journey of my Art
Creating art prints is a journey that starts with a spark of inspiration and ends with a tangible piece of art. This process involves meticulous planning, creativity, time, and craftsmanship. Let's dive into the complete process, from the first sketch to the final printed product.

Creating art prints is a journey that starts with a spark of inspiration and ends with a tangible piece of art. This process involves meticulous planning, creativity, time, and craftsmanship. Let's dive into the complete process, from the first sketch to the final printed product.
Research and Inspiration
Every great piece of art begins with a burst of inspiration. For me, the creative process starts with exploring various subjects and themes such as nature, vintage items, flora and fauna, and fashion. Here's how I gather and refine my inspiration:
Explore Subjects and Themes: I spend quality time in nature (hikes), antique shops, and gardens. Even just walking the neighbourhood can provide a wealth of ideas.
Gather Reference Materials: I collect photos, objects, and real-life observations for reference materials. This helps me capture accurate details and infuse realism into my art, while keeping a painterly touch to maintain the artistic characteristics.
Create a Mood Board: for more complex pieces, I will compile visual elements, such as images, colour schemes, and styles, into a Pinterest board or Google Drive folder to help visualize the overall feel of the piece.
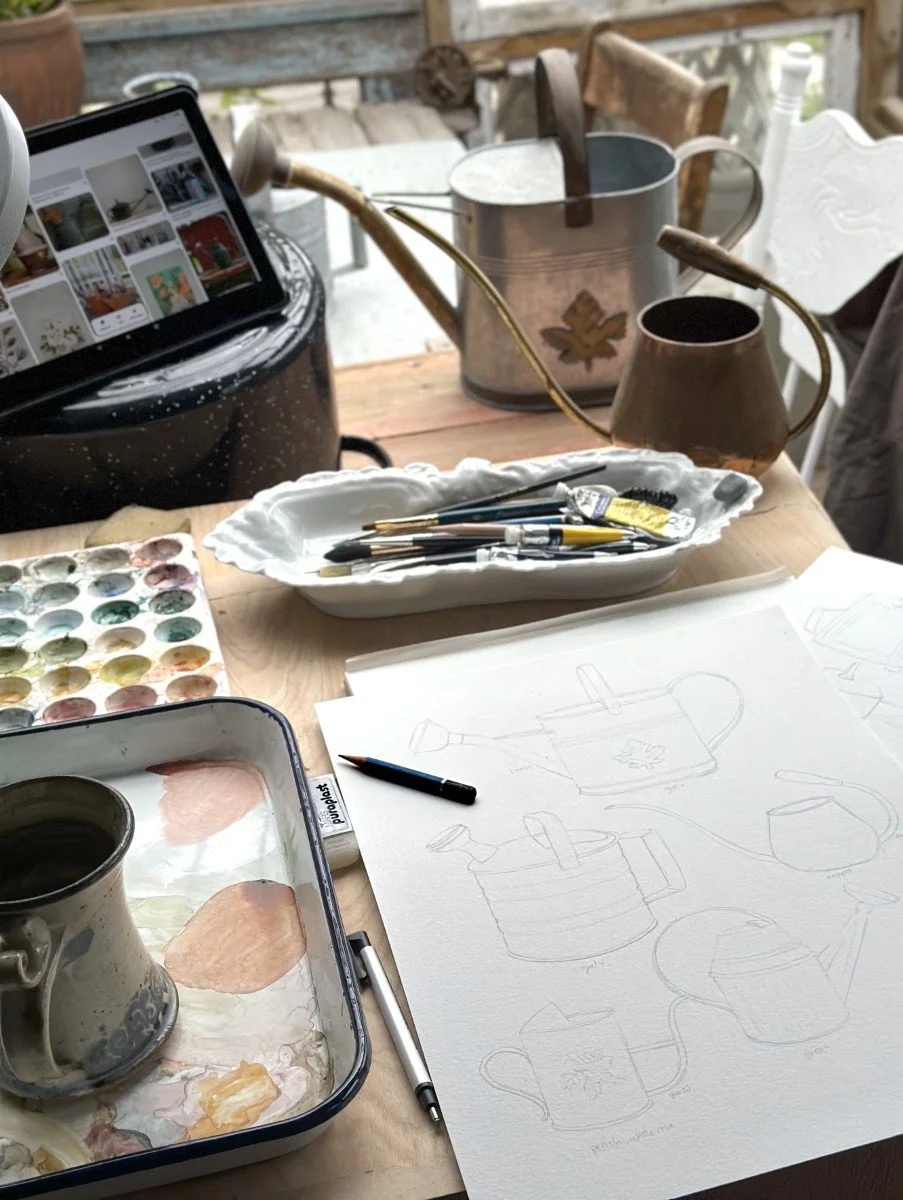

Conceptualization and Planning
Once the inspiration is in place, it's time to brainstorm and plan the artwork:
Brainstorm Ideas: I sketch out rough concepts and jot down ideas.
Choose a Subject and Perspective: Deciding on the focal point and composition is key. This step involves choosing what elements will stand out and how they will be arranged.
Create Thumbnail Sketches: Small, quick drawings help explore different compositions and arrangements. These sketchbook thumbnails are essential for experimenting with various ideas before committing to a final composition.
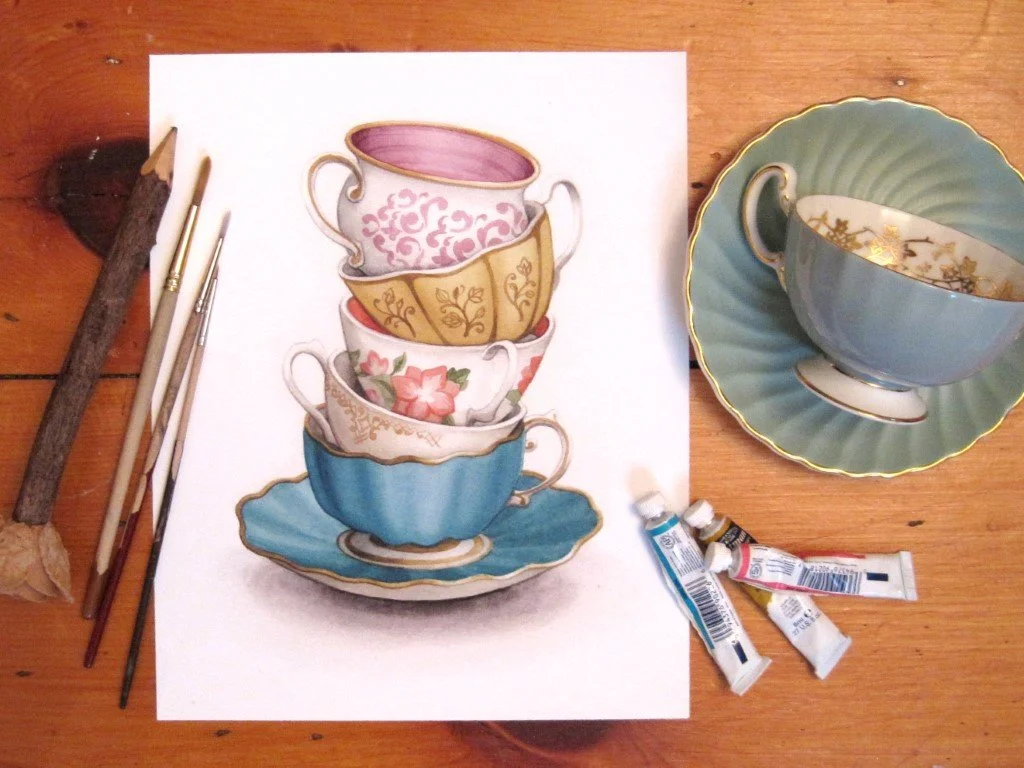
Initial Sketch
With a clear concept in mind, I move on to drafting a detailed pencil sketch:
Draft a Detailed Pencil Sketch: Outlining the main elements and finer details helps set the artwork's foundation.
Adjust Composition: Refining the positioning and proportions ensures the composition is balanced and visually appealing.
Plan the Color Palette: Selecting watercolours that match the desired mood and style is crucial. The colour palette sets the tone for the entire piece. I'm a fan of muted, dusty colours myself :)
Watercolour Painting
Painting is where the artwork truly comes to life:
Transfer the Sketch: Using light pencil lines, I transfer my sketch onto watercolour paper using a light table. I used to use carbon paper, until my best friend gave me her portable light table last year, and it was a game-changer! Much more efficient.
Apply Initial Washes: Broad areas are painted with light, transparent layers to create a base. I always start with light colours, and move to the darker after those are set.
Build-Up Layers: Adding depth and details with subsequent layers enhances the richness of the colours. Each layer is allowed to dry before the next one is applied.
Focus on Details: Fine brushes are used to add intricate details, bringing the artwork to life.


Digitization
To transform the watercolour painting into an art print, digitization is necessary:
Scan the Painting: The image is captured digitally using a high-resolution scanner. Depending on the piece, I scan at a higher resolution than the actual size, just in case it needs to be larder for certain things like wedding signage or fabric printing (usually 800dpi).
Arranging separate elements: Sometimes I paint elements individually, such as flowers, so that I can arrange them in different ways for different pieces. I do this in Photoshop, making my work more versatile.
Colour Correction: Adjusting colours on the computer ensures they match the original painting accurately. I will often increase the contrast a bit as well, or darken the shades.
Remove Imperfections: Cleaning up any blemishes, dust spots, or inconsistencies is crucial for a flawless digital version.
Printing
Preparing the digital image for printing involves several steps:
Resize and Format: I resize the image to whatever size I’ll be printing and create a PDF file to send to my printer with crop marks and bleed, if required.
Test Prints: Creating proof prints helps ensure colour accuracy and quality.
Final Adjustments: Making necessary tweaks based on the test prints guarantees the final product is perfect.
The final step is bringing the digital image into the physical world:
Choose Printing Materials: I use high-quality cardstock for my prints for durability and a premium feel.
Work with a Local Printer: Collaborating with a professional printer helps achieve the best results. The team I like to work with is only 15 minutes away from my studio!
Quality Check: Reviewing the prints before I package them up is the last step in the process. My printer knows I have an eye for detail - I don’t accept anything less than perfect ;)

From a mere spark of inspiration to a beautiful art print, each step of this journey is filled with creativity, precision, and passion. Seeing my artwork transformed from a blank page to a simple sketch, and finally a framed print is incredibly fulfilling. Each piece not only represents the time and effort put into it but also tells a story of artistic exploration and dedication.
If you're an aspiring artist or simply curious about the creative process, I hope this insight into my workflow inspires you to explore your own artistic journey. Remember, every masterpiece starts with a single sketch.
FAQs
Q: What materials do you use for sketching and painting? A: I primarily use 3H- B graphite pencils for initial sketches. They allow for easy adjustments and refinement. For paint, I mostly use Winsor & Newton Cotmon or professional watercolours.
Q: How do you ensure colour accuracy when digitizing your artwork? A: I use a high-resolution scanner and perform colour correction in Photoshop to match the original painting as closely as possible.
Q: What type of paper do you recommend for watercolour paintings? A: I use cold-pressed 140lb (min) watercolour paper. It provides excellent texture and durability for multiple layers of paint. I have been using Canson pads as they work well fo rmy use and are economical. Of course, 100% cotton is best, though ;)
Q: Can I purchase your prints online? A: Yes, you can explore and purchase my prints on my website HERE!